Access Your Bot
There are two ways to interact with your bot. The first is via the popup chat within the Admin Console, the second is by visiting your chatbot’s public URL.
For this guide, we will simply stay within the Admin Console and use the popup chat interface.
If you wish to instead view the bot at your public URL, simply visit the subdomain you provided for your bot.
For example, if you provided the subdomain “sample”, you can access your public chat itnerface at https://sample.didichat.app
Opening the Popup Chat
To open the popup chat and display the (minimal) chat interface, click the floating action button in the bottom right of the screen.

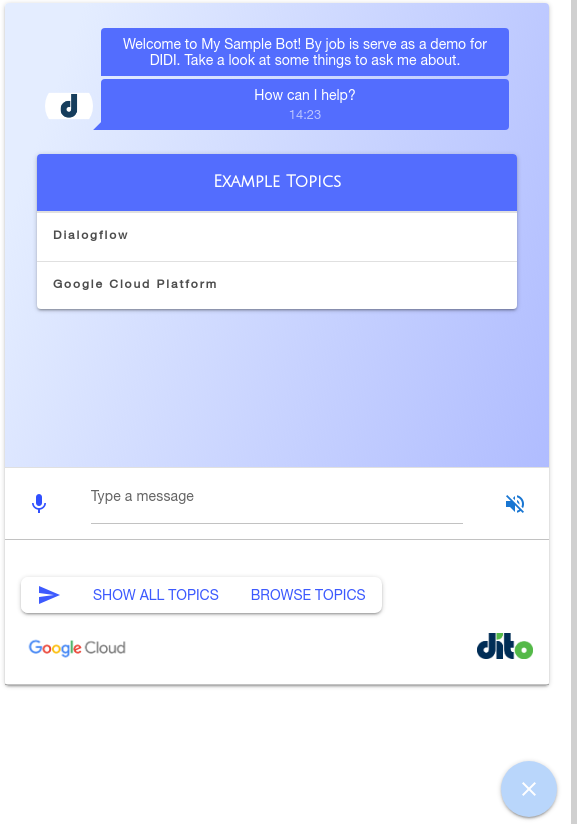
After clicking, you should see the chat interface popup.
Things to Note
There are a few things to note about the popup chat interface:
- This is the minimal chat interface shown when the bot is embedded in a site
- The embedded version does not display any logo at the to
Interact with the bot
Welcome Message
As you can see, upon opening the chat interface the bot greets the user with the Welcome Response we defined earlier.
Additionally, you can see it provides a list of example topics from the knowledgebase in order to help the user understand what they can ask.
Below the user input field, you can see that the bot provides two suggestion chips to the user. These are always displayed for the Welcome Response and include “Show All Topics” and “Browse Topics”. If you click “Show All Topics”, the bot will provide a list of all FAQs in the knowledgebase to allow the user to select a topic they are interested in.
The “Browse Topics” is used to allow the user to navigate the knowledgebase by department and category. Currently, our sample bot does not define any topics or categories, so this suggestion is not very useful right now.
Asking an FAQ
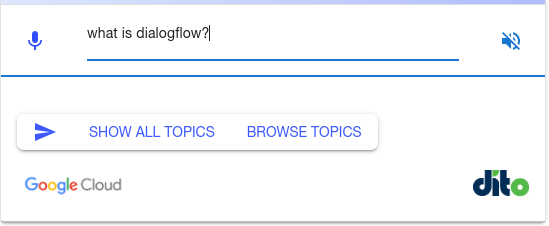
Go ahead and ask the bot something about Dialogflow. As long as you include any of the synonyms we defined for the Dialogflow, then you should receive the response for the Dialogflow topic.
So if we ask:
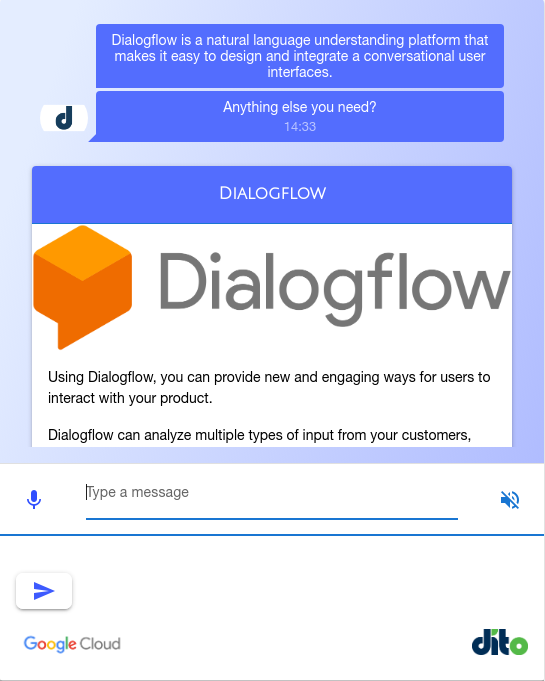
We should then see the response:
Editing an FAQ Topic
That logo looks a little to big in the response. Let’s remove the logo, so that there is more room for the text response.
First, go back to the topic listing page
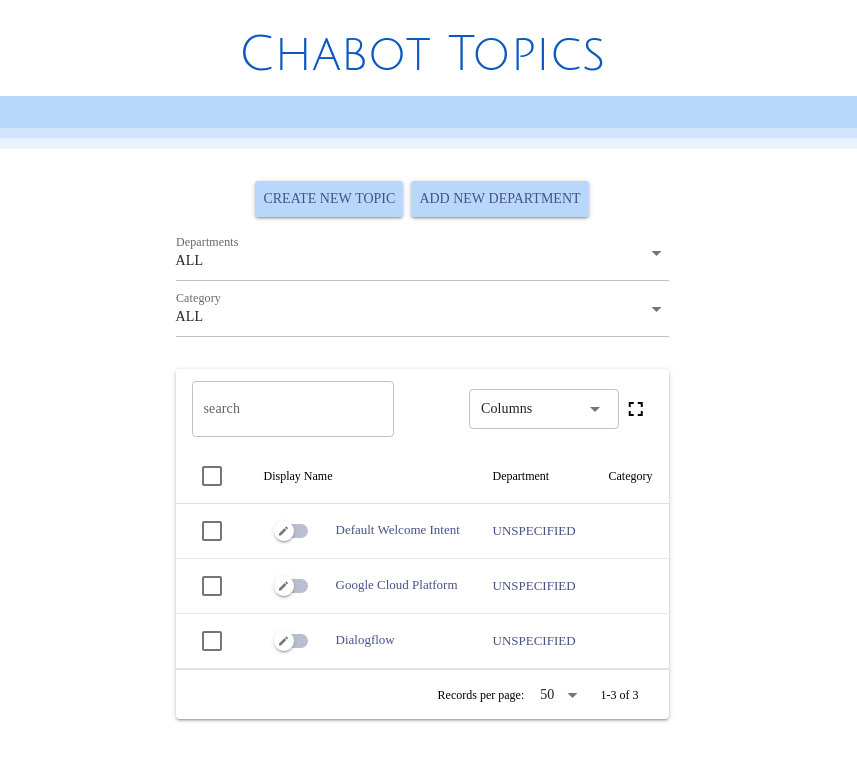
Then click the toggle switch for the Dialogflow Topic to open the topic details.
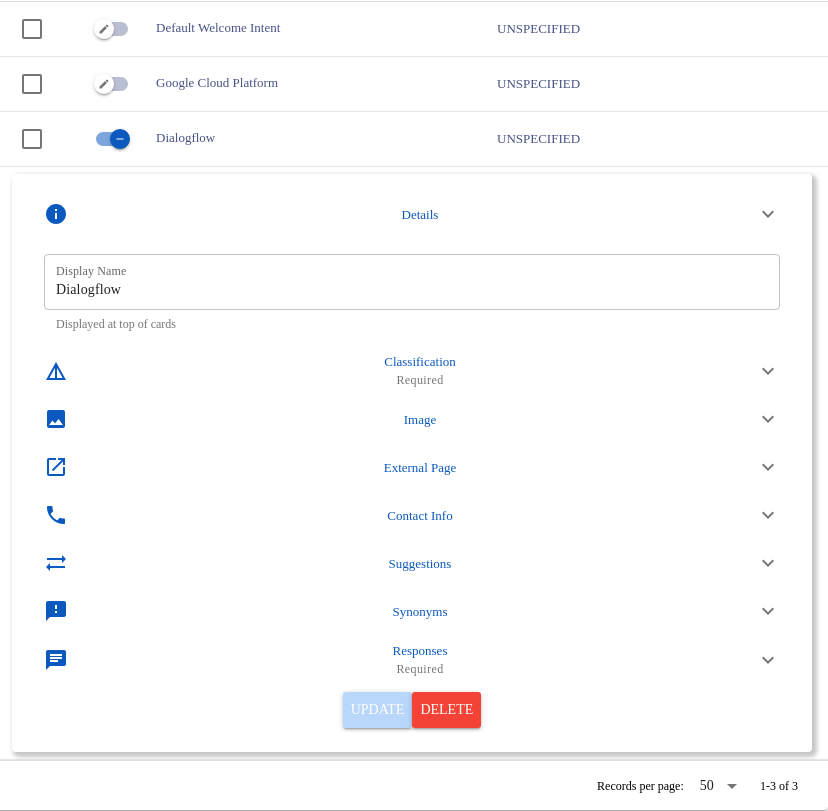
Then click the arrow to expand the Image section
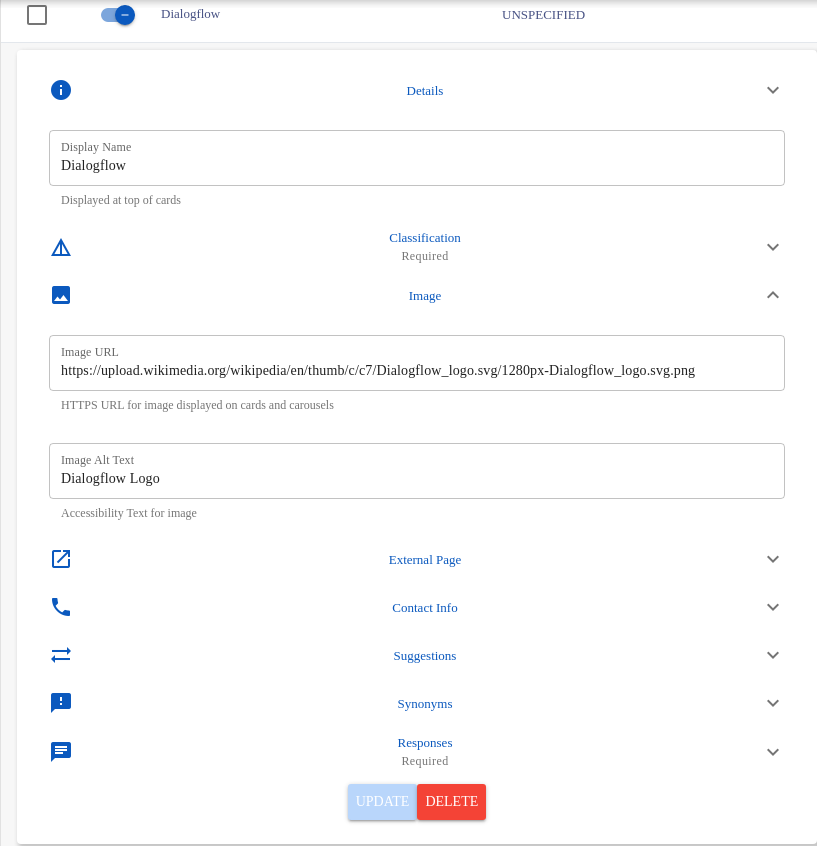
Delete the values for Image URL and Image Alt text and click “Update”
Open the popup chat interface again and ask one more time about dialogflow. Notice how the changes we made have modified the response.
FAQ Response
Let’s take a look at the response we received and see how the different components map back to the information we provided in the Topic Form.
Speech Bubbles
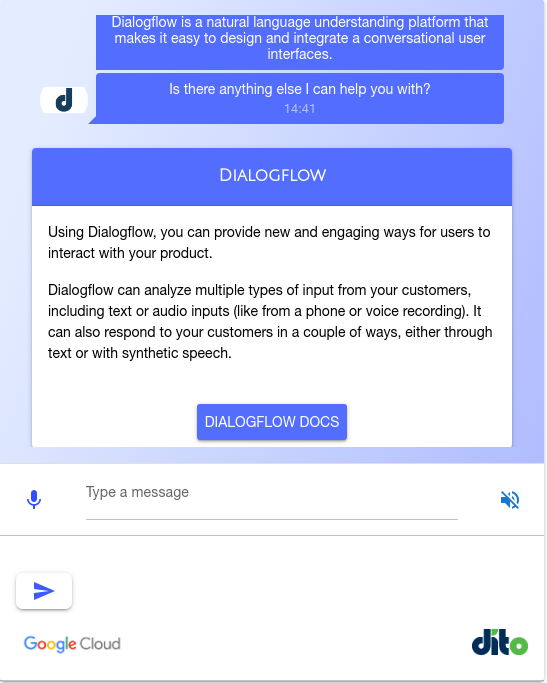
We see that the first speech bubble contains the topic’s Speech Response. If we were interacting with the bot via telephone or another voice platform, this bubble is what would be spoken aloud to the user.
The next speech bubble is an auomatically provided prompt to the user to help copntinue the converation.
Rich Response Card
Next is the rich response card. We see the card header contains the topic’s Display Name (Dialogflow). Additionally, before we edited the topic, the topic’s image URL was rendered as an image inside the card body.
The text provided within the card corresponds to the topic’s Text Response. Notice how it is longer and more verbose than the speech text. If we were using a voice platform, this text would not be spoken to the user and would not be provided at all.
Below the text response is the card button. The label of the button maps to the Button text we defined for the topic, and if we click the button we will be directed to the website we provided as the Button URL.
Wrapping Up
Hopefully this guide has made you a little more familiar with how DIDI works and how to add new FAQs. Feel free to continue adding new FAQs or continue to the tasks section to see what else you can do with DIDI.